new_dirs <- c("docs", "scripts", "data-raw", "data", "figures")
sapply(new_dirs, dir.create)Getting organised with RStudio Projects
RStudio Projects allow you to create self-contained, portable code projects. The main way it works is by allowing you to work with filepaths that are relative to the root directory of the project instead of relative to your system. It also saves settings specific to the project in the *.Rproj file.
See this presentation for more context.
New RStudio Project
Create a new project:
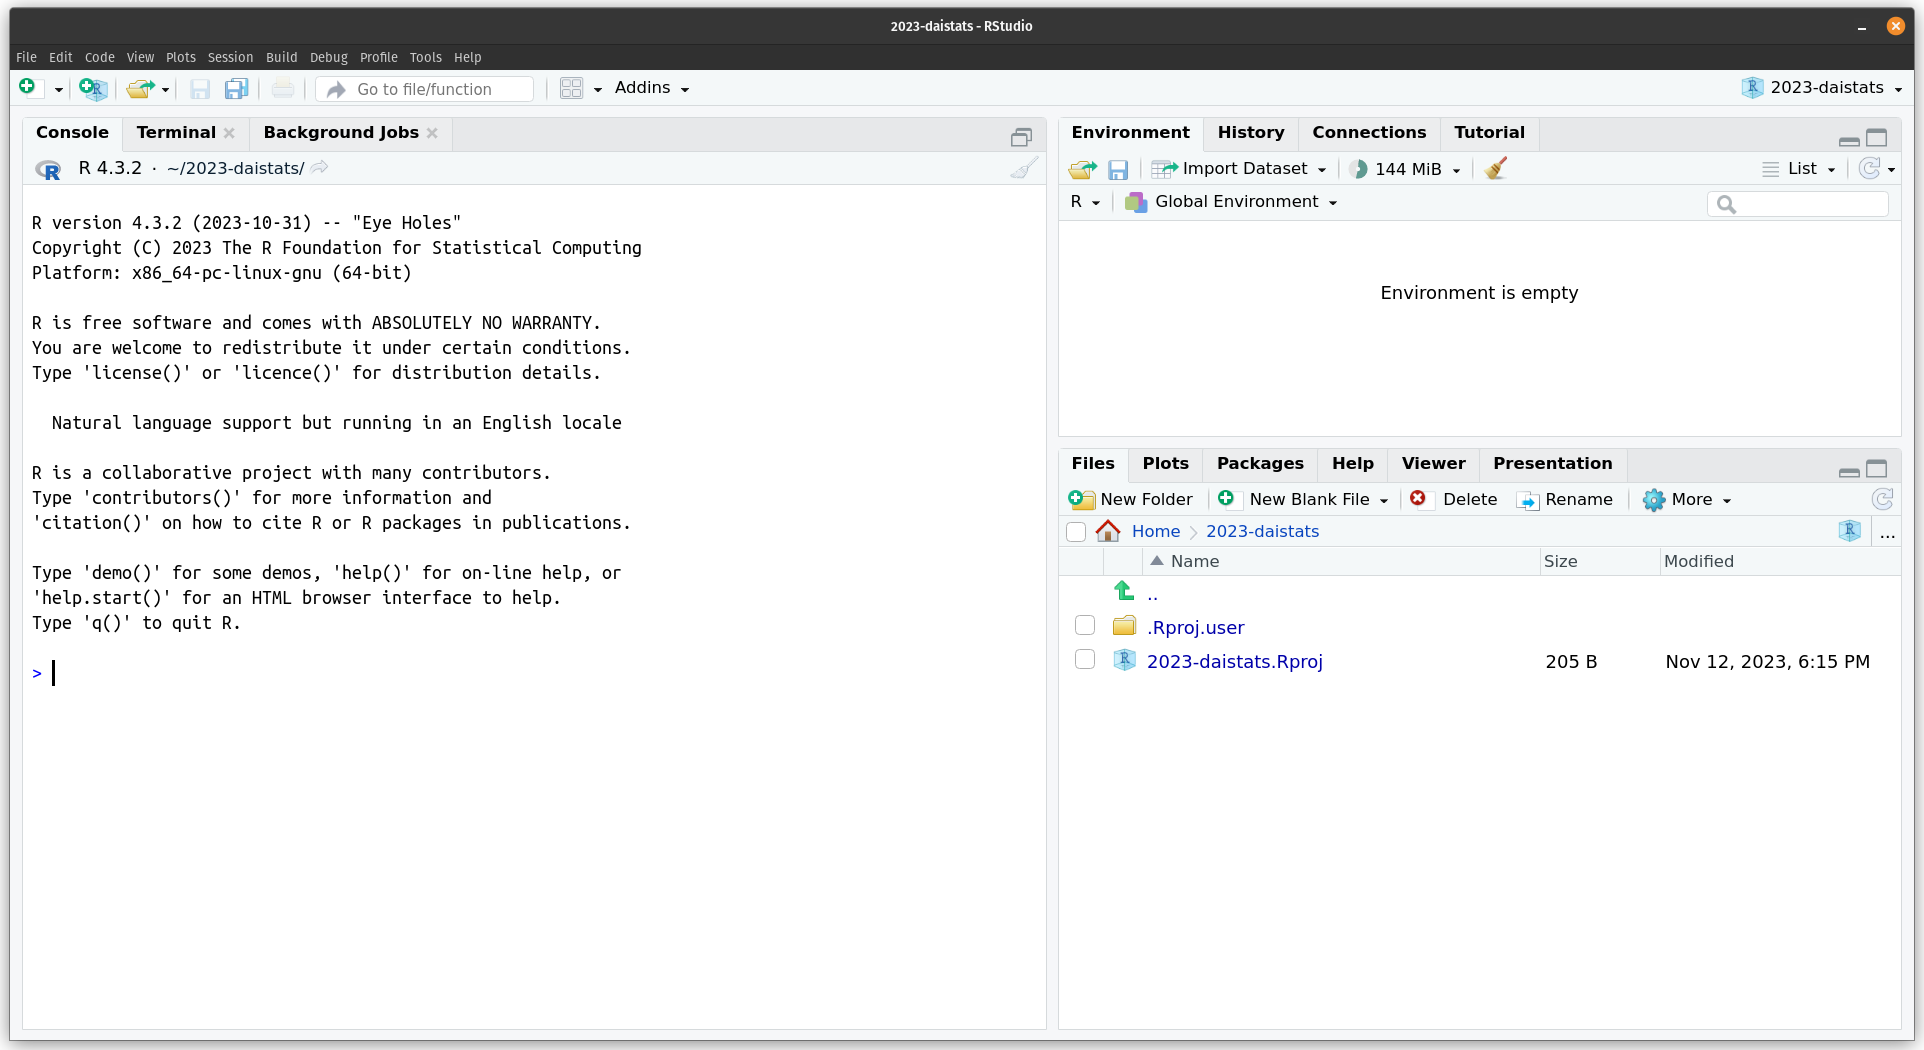
File > New Project > New Directory > New ProjectYou can call the project RchaeoStats-workshop (or something like that). Once the project is created, a fresh RStudio environment will open. You will now see a .Rproj in the file pane, and in the top right corner you will see the project name.

Opening an RStudio Project
To open an existing project:
File > Open Project > Navigate to the directory and select the *.Rproj* fileOpening your project will set your working directory to the project root, and open any files you had open in RStudio when you last worked on the project.
If you have previously worked on a project, you can also open it again from the dropdown menu in the top right corner.
Closing an RStudio Project
Using the dropdown menu in the top right corner, select Close Project.
Organising the project
Well begun is half done. - Mary Poppins
A project should be organised in a way that makes sense for the project, there is no ‘one size fits all’. A typical R project could look something like this:
Project
├── README.md
├── analysis
│   └── report.qmd
├── scripts
│   └── analysis.R
├── data-raw
│   └── raw-data.csv
├── data
│   └── cleaned-data.rda
└── figures
There are many variations in the wild - some have been collected here
We can create the folder structure by using the Files pane in RStudio and clicking on the ‘Create a new folder’ icon, or from the console:
dir.create() is the function that allows us to create new folders (or directories), but it only allows us to do so one folder at a time. To create multiple folders we can create a vector of the folder names, new_dirs and use sapply to iterate the dir.create function over all the elements of new_dirs. So it will first execute dir.create("docs"), then dir.create("scripts"), and so on until it reaches the last element of the vector, "figures".
No more filepath issues
setwd() is the function used to set your working directory in R. The problem with setwd() is that you have to insert the path that is likely VERY specific to your computer, for example: setwd("C:\Users\username\and\you\get\the\idea\"). If this is the first line of code in your R script, then it is not going to work on anyone else’s computer.
By combining the use of RStudio Projects and the here package, you can remove any (well, most…) filepath issues in your work and when you share your project with others.
RStudio Projects generate a top-level directory at the root of your project, and here ensures that you only need to create filepaths that are relative to that top-level directory.

A final note
A final, more general recommendation on the RStudio workflow, is to avoid saving you workspace when closing RStudio (you will be prompted to do this each time you close RStudio).
Tools > Global Options… > General > Workspace
Then, uncheck the box next to Restore .RData into workspace at startup and set Save workspace to .RData on exit to ‘Never’.
The reason I recommend this is because all your work should be contained in an R script (or multiple R scripts in a project), and running said RScript(s) should reproduce everything you need in your Global Environment. This will help keep your workflow clean and reproducible!
